Wednesday, October 17, 2012

Choosing a lens

Just yesterday, I was browsing for and reviewing the Nikkor 17-55mm f/2.8 lens.  It costs at least $800 used.  A few months ago, I was browsing for and reviewing the Nikkor 70-200mm f/.8 lens.  Again, this beast also costs at least $1300 used.  It begs the question:  do I really need any of these two lenses?  I like that they are really fast, but there is no VR.

ExposurePlot:  graphs of 234 photos.
Besides that question, my other question is, how often do I shoot in a certain range to justify such an expensive purchase?

I ran a quick search on Google and landed on one piece of free software called ExposurePlot.  I just had a quick look and I like it already.  I ran it against 234 photos I took at a niece's birthday party.  All the shots were made indoors with flash mostly.  I forgot now what ISO values or aperture settings I used.  This software answers this question in minutes.

I can see I left my camera on ISO 1600 the whole night, as shown by the big red bar.  Since I used Aperture Priority virtually all the time, with flash on, the shutter speed is maxed out at 1/60 seconds as shown by the big green bar.  I can see that a few times, I turned flash off, and they show up as those tiny green bars.

Now, for focal length--and this must be taken into context of an indoor party shoot--I spend most of the time shooting between 18-55mm (DX).  The graph converted my focal lengths into 35mm equivalents and I am not sure how to turn off that conversion yet.  I do shoot in the 70-200mm (DX) range but not as nearly often.  Overall, I can see that I do use the full 18-200mm range in a given night.

If I were to purchase a 17-55mm lens and a 70-200mm lens, I will likely use the 17-55mm much more often than the 70-200mm, but will I likely want to switch lenses during a party, or will I simply adapt (i.e., getting closer)?  I have brought just a 50mm lens to parties before and I was forced to adapt.  Hmmm...

I have to run now.  I will play with this software more a bit later.

Sunday, October 14, 2012

Sensor cleaning, nasty bunny

After the Henry's Exposure 2012 show, I decided to perform a wet cleaning on my sensor.

While I was at the show, I had my lens cleaned at this one booth for free (and they gave away a free Lenspen FilterKleaner.)  I did not know they would try to clean my sensor as well.  Well, they did.  They showed me their 6x magnification loupe with built-in LEDs.  The loupe is actually pretty cool.  It has an opening for a special lens pen to be inserted to clean the sensor.

Crop of image:  a persistent blob on my sensor!
I knew my sensor was probably dirty.  I hadn't cleaned it for a while and I have taken my camera to many dusty places and have switched lenses many times over.  So, I was not surprised to see tiny dust bunnies through the loupe.  They went to clean my sensor and I was really hoping it'd actually work, but unfortunately not.  The pen they used only smeared the dust bunnies and might have added more dust or some kind of residues from the cleaning tip.  After a couple of minutes, I told them "it's ok ... I'll do a wet cleaning." :-)  I'm sure they appreciated that.

Anyways, I went out to buy the Pec Pad sheets I mentioned a few months ago from Vistek.  The 100 sheets of Pec Pad came out to $14.68, including tax.  Each sheet can be cut in half and each half can be used two or three times by adjusting the sheet to use different parts of it--I used each half only twice.  This was the Copper Hill method.

With the Pec Pad sheets, I performed the cleaning four times.  There was one dust bunny that persists.  I still cannot clean it.  It appears in the lower left corner of the image, so on the sensor (looking from the front) it should be in the upper right corner.  I scrubbed the area a few times over but the dust hangs on.  I think I will get a loupe to take a closer look at the sensor.

UPDATE:  I ended up ordering a cheap 7x loupe from eBay.  The loupe has six LEDs.  With it, I'll be able to see what that dust bunny is.  I hope it's not between the sensor filter and the sensor itself!

Loose lens hood

Sagged bridge on my HB-35 lens hood.
When I bought my D300 a couple summers ago, it came with a Nikkor 18-200mm VR lens, but the lens had no hood.  As I already have an 18-200mm lens, I gave the new lens to my eldest brother and gave him the original hood that came with my older lens.  I decided then to buy an HB-35 lens hood from eBay.

Maybe the old adage rings true even for accessories like a lens hood.  You get what you pay for.  The lens hood was super cheap, shipped from China.  It worked great--well, it's just a lens hood--but there was one thing that irked me for over a year now.  The lens hood was a little loose.  It was easy to knock it off and it's something that is constantly on my mind on hiking excursions.  I remember having to deal with it in Cape Breton by inserting a strip of birch bark in between the hood and the barrel.  (I did not have any plastic or paper at the time.)  In contrast, the original lens hood had a tight fit and wouldn't easily get knocked off, although it is still very possible--I almost lose mine on a hiking trip in Costa Rica one year.

Today, I read somewhere someone had the idea of using tape around the barrel.  I guess that could work but tape may come off and leave a gluey residue behind.  Someone had melted the plastic of the hood for a better fit.  So, I thought I'd try that, and above right is the result.  Notice the imperfect bridge.  That was my melted hood.  I held a lighter under the hood at some distance but close enough to heat up the bridge where the small nodge is.  It could see the plastic starting to sag a little.  As soon as gravity started to bend the plastic, I remove the flame, and let the plastic cool down and harden once again.  Now, I've got a really good, tight fit!

Disclaimer:  If you try this, be very careful.  That plastic melts really quick and can easily catch fire too!  Do so at your own risk!

Fall colours, part 2

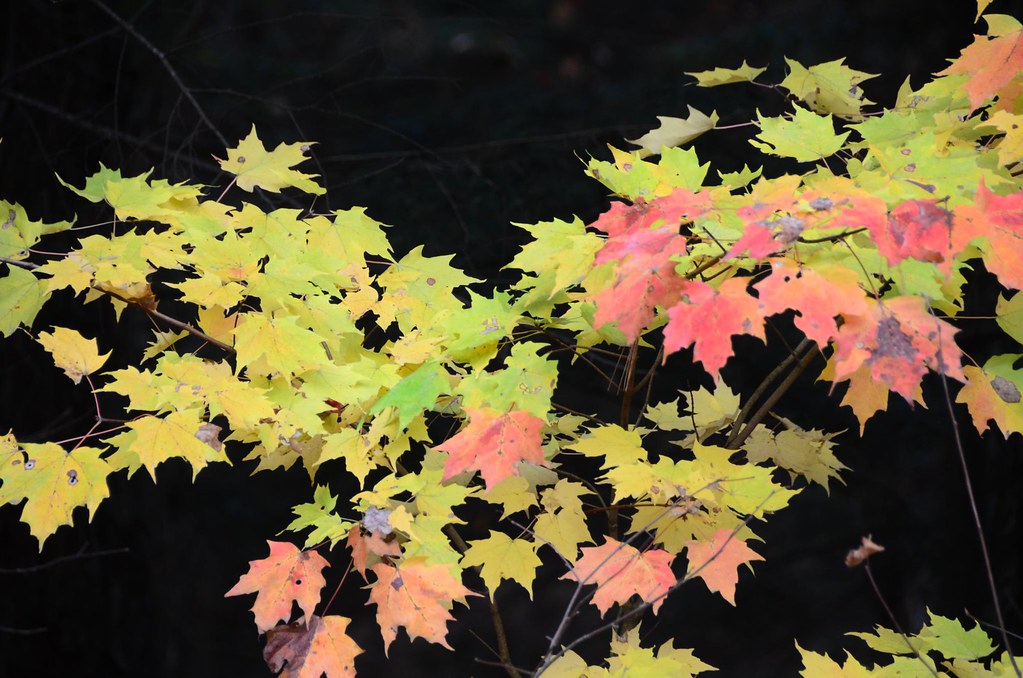
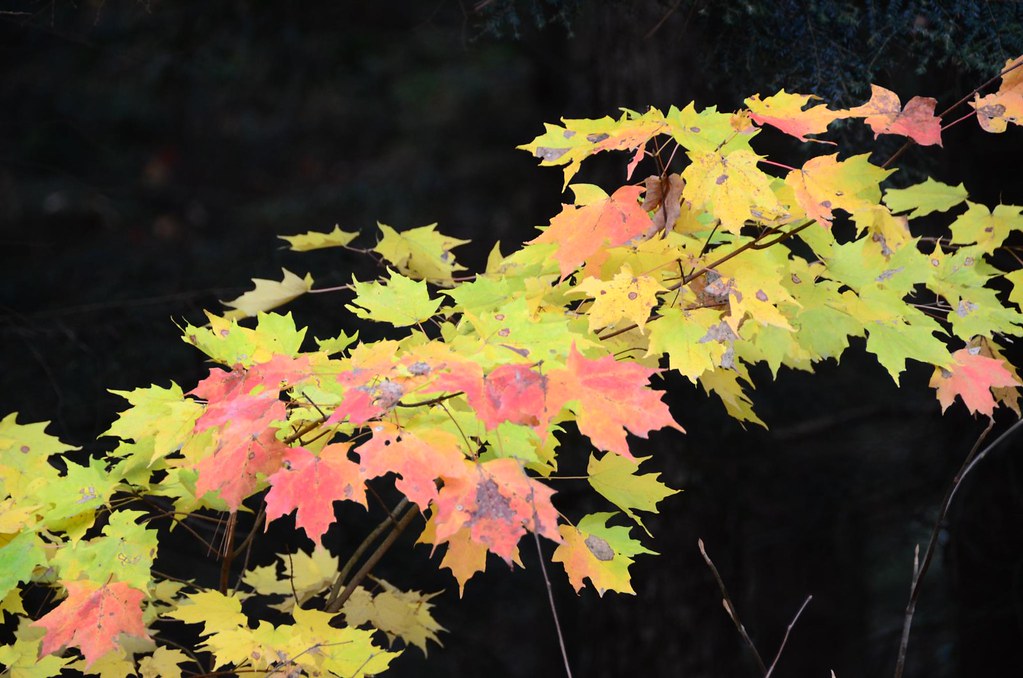
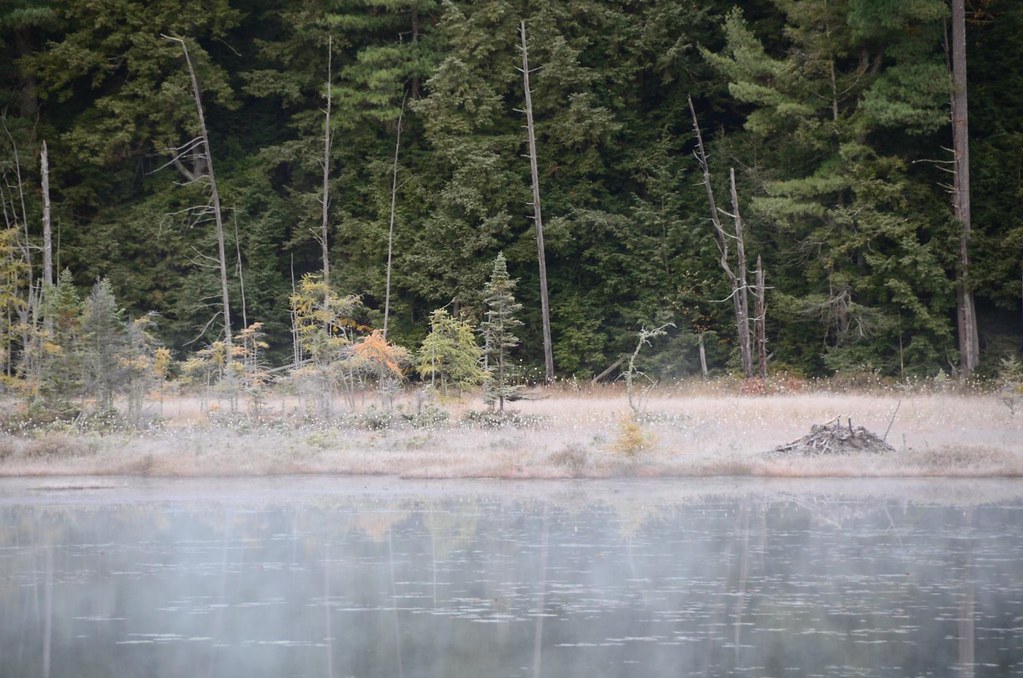
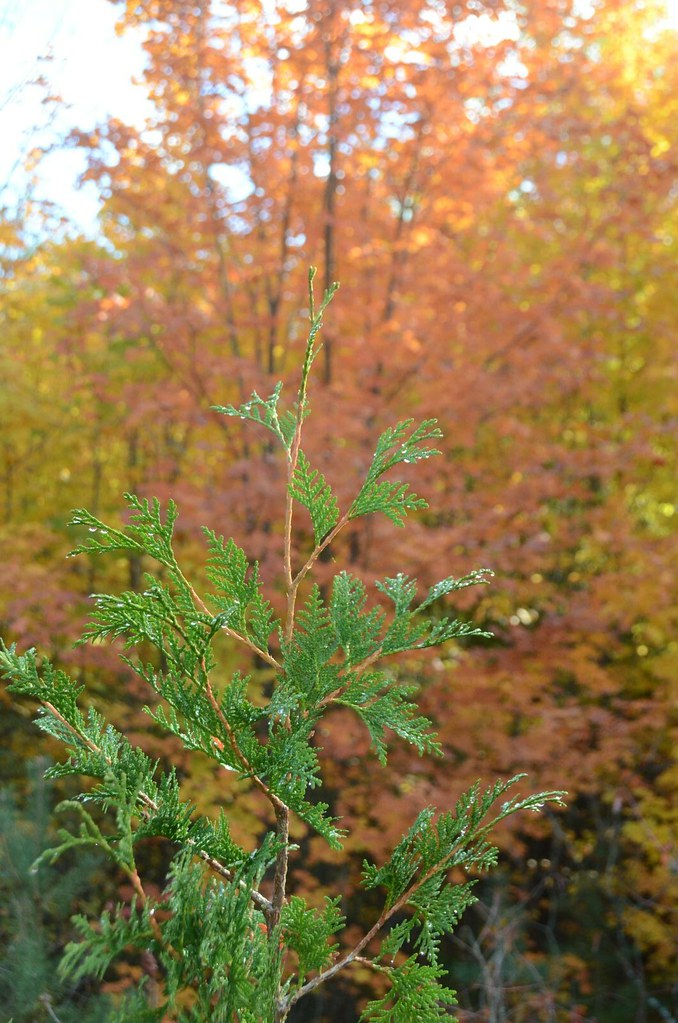
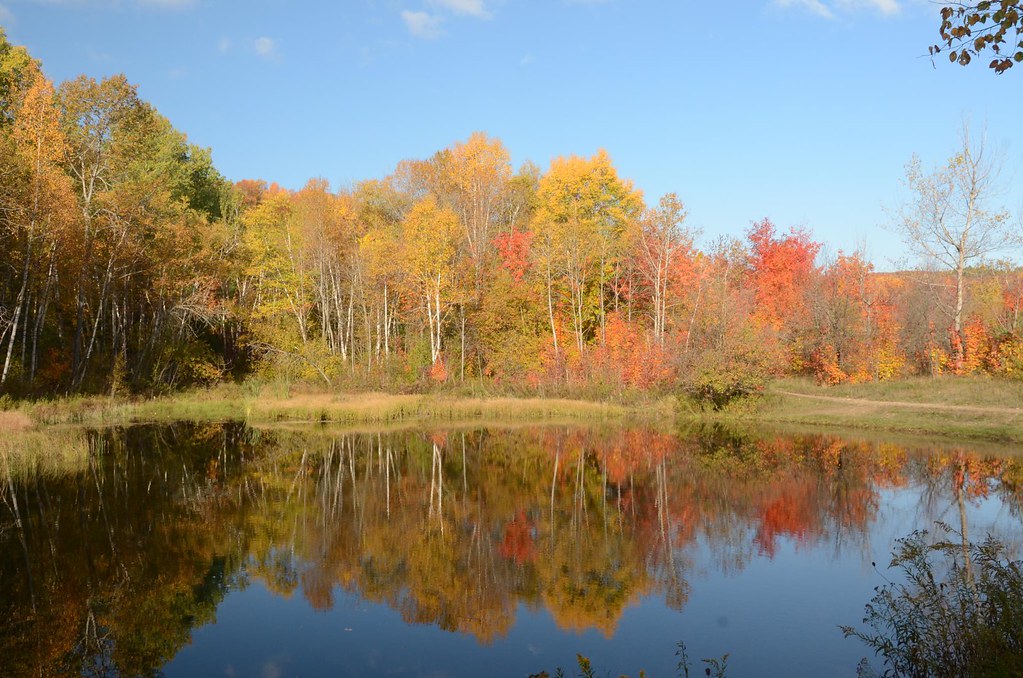
The further north you go, the fewer leaves there are in the canopy.  In fact, there isn't much of a canopy anymore in many parts of Muskoka region.  On a camping trip to Big Orillia Lake, although I did not actually camp on Big Orillia Lake, I took a few pictures of the fall colours.


Friday, October 12, 2012

Fall colours

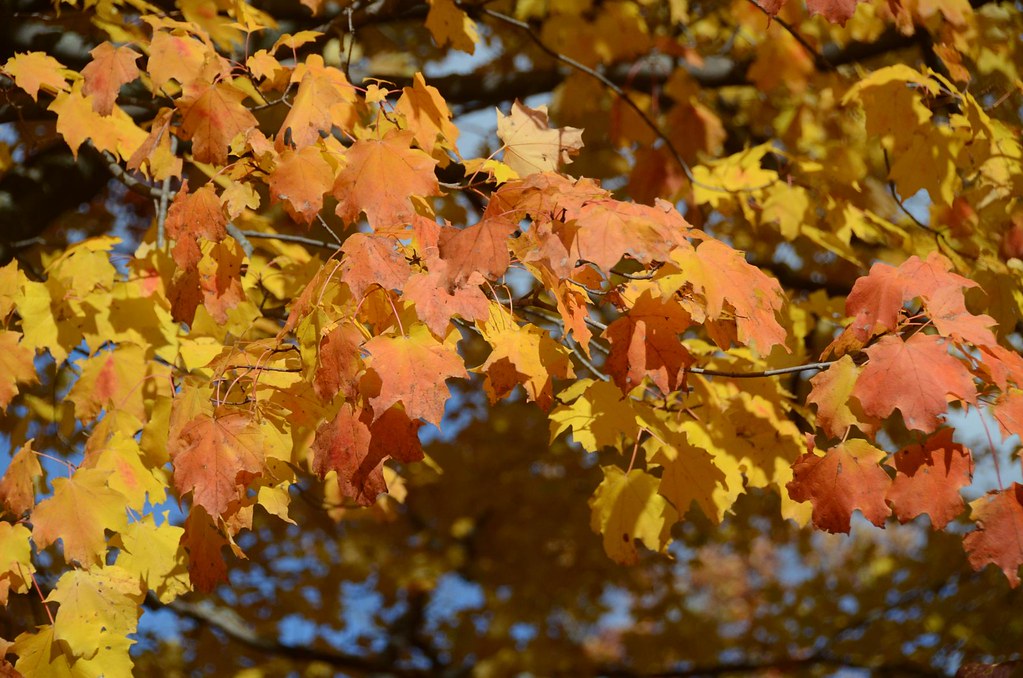
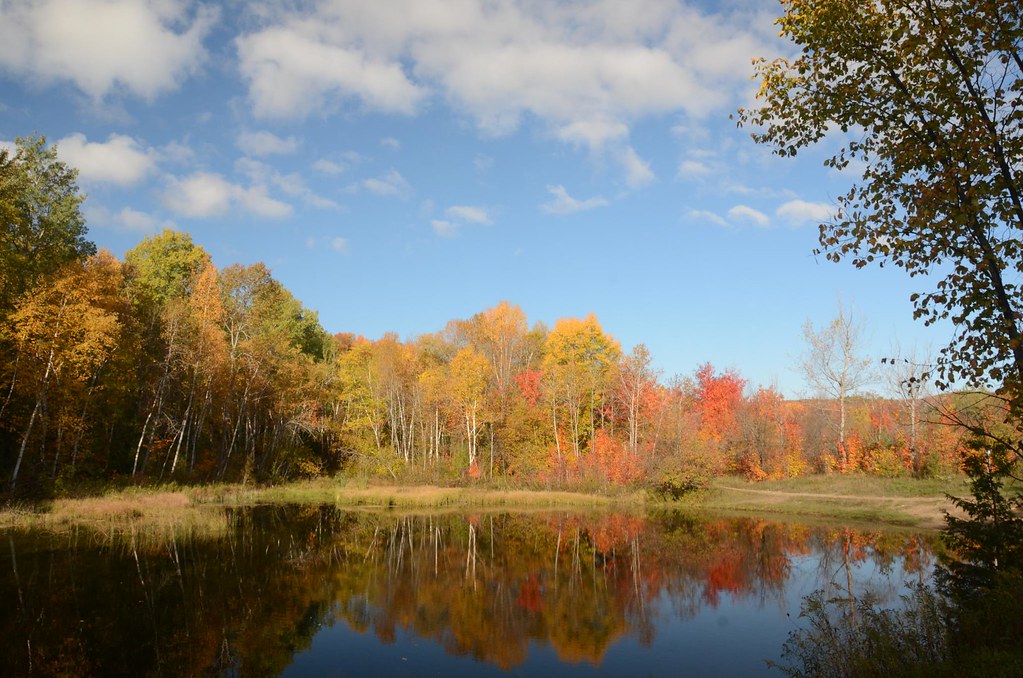
When it gets a little cold, it's probably a good time to start getting your gears ready to capture the multitude of colours of the fall.  This past Monday, I went hiking with some friends at the Mono Cliffs park, a little north of Orangeville, ON.  The day started fairly cold.  We saw some bits of snow flakes in the air at 9am.  That did not deter us.  We hiked for about 1.5 hours to the top of Mono Cliffs and peered down the landscape.  It was beautiful.


Sunday, September 16, 2012

Picking the right time

There is nothing new here but how often does one actually make an effort to hike out there for the perfect time for photography?  That's the early morning and late night outings.

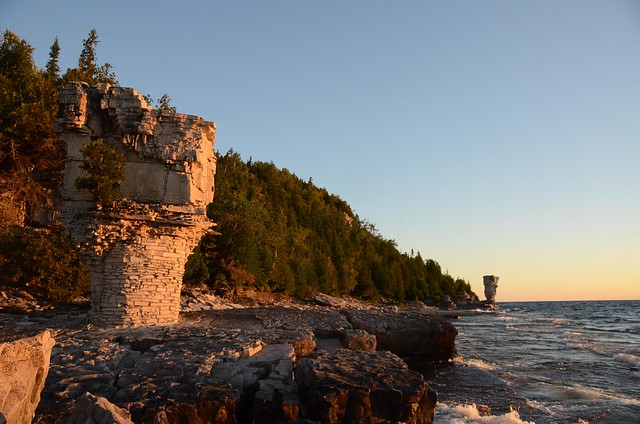
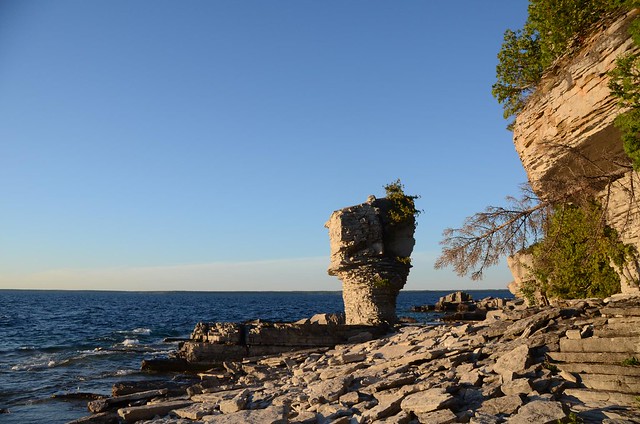
On my last camping trip on the Flowerpot Island in Tobermory, Ontario, I forced myself out of my cozy sleeping bag and hiked perhaps 20 minutes to the flowerpots to take pictures of the landscape.  I really liked the colours of the morning.  The yellow and blue and green came out really well.

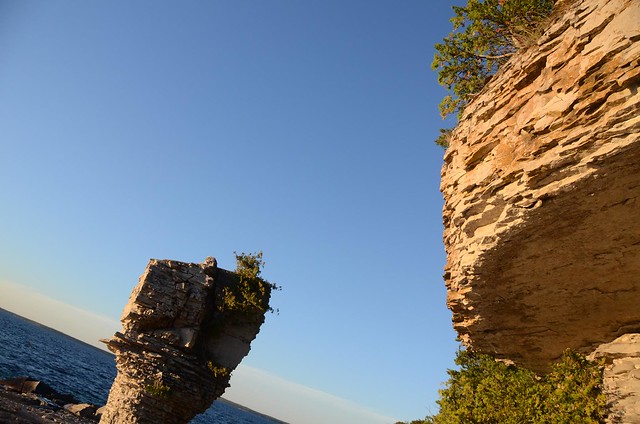
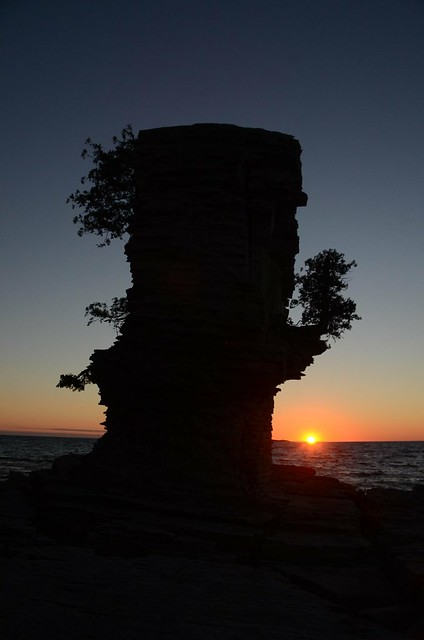
Here are some photos I took that morning (most shots were exposed for the sky):

The two flowerpots together.

Top of a flowerpot (left) and part of a cliff (right).
Too bad my flash was not strong enough to light up the backside of the flowerpot.
Basking in the early sun.

Sunday, August 5, 2012

Graduated filters, part 2

Last year, I bought these cheap (about $6 a piece?) six graduated filters from an eBay seller from China or Malaysia (see:  http://photonfarmers.blogspot.ca/2011/07/graduated-filters.html.)

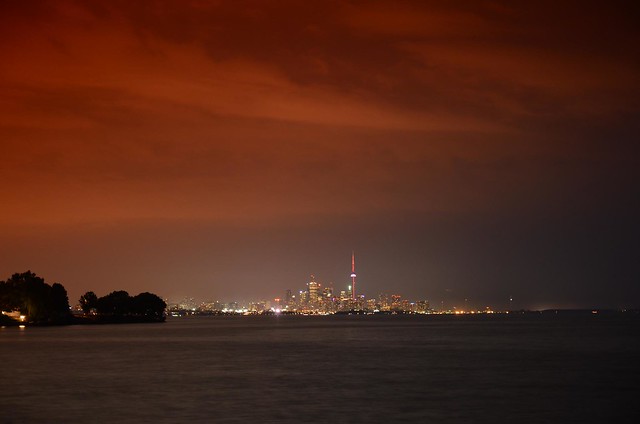
With all the small gadgets I bought, I tend to forget to carry the filters along on my trips.  The other day though, when my younger brother was here, we went down to a park to take some pictures of Toronto.  Cheap as they were, these filters worked quite well!  They can be used to bring the contrast between the sky and the land down a bit or to simply change the mood of the scene.

Here was a shot using an orange filter:


Not bad IMHO. :)

Potensic Atom Follow-Me Mode

The Potensic Atom's Follow-Me mode is one of its "intelligent flight" modes.  It's a really nifty feature that uses visual...